Fake Watermelon Cookies DIY (Easy Air Dry Foam Clay Craft Tutorial)
Watch the full fake watermelon cookies tutorial above, then follow the step-by-step instructions below to create your own adorable faux dessert decorations.
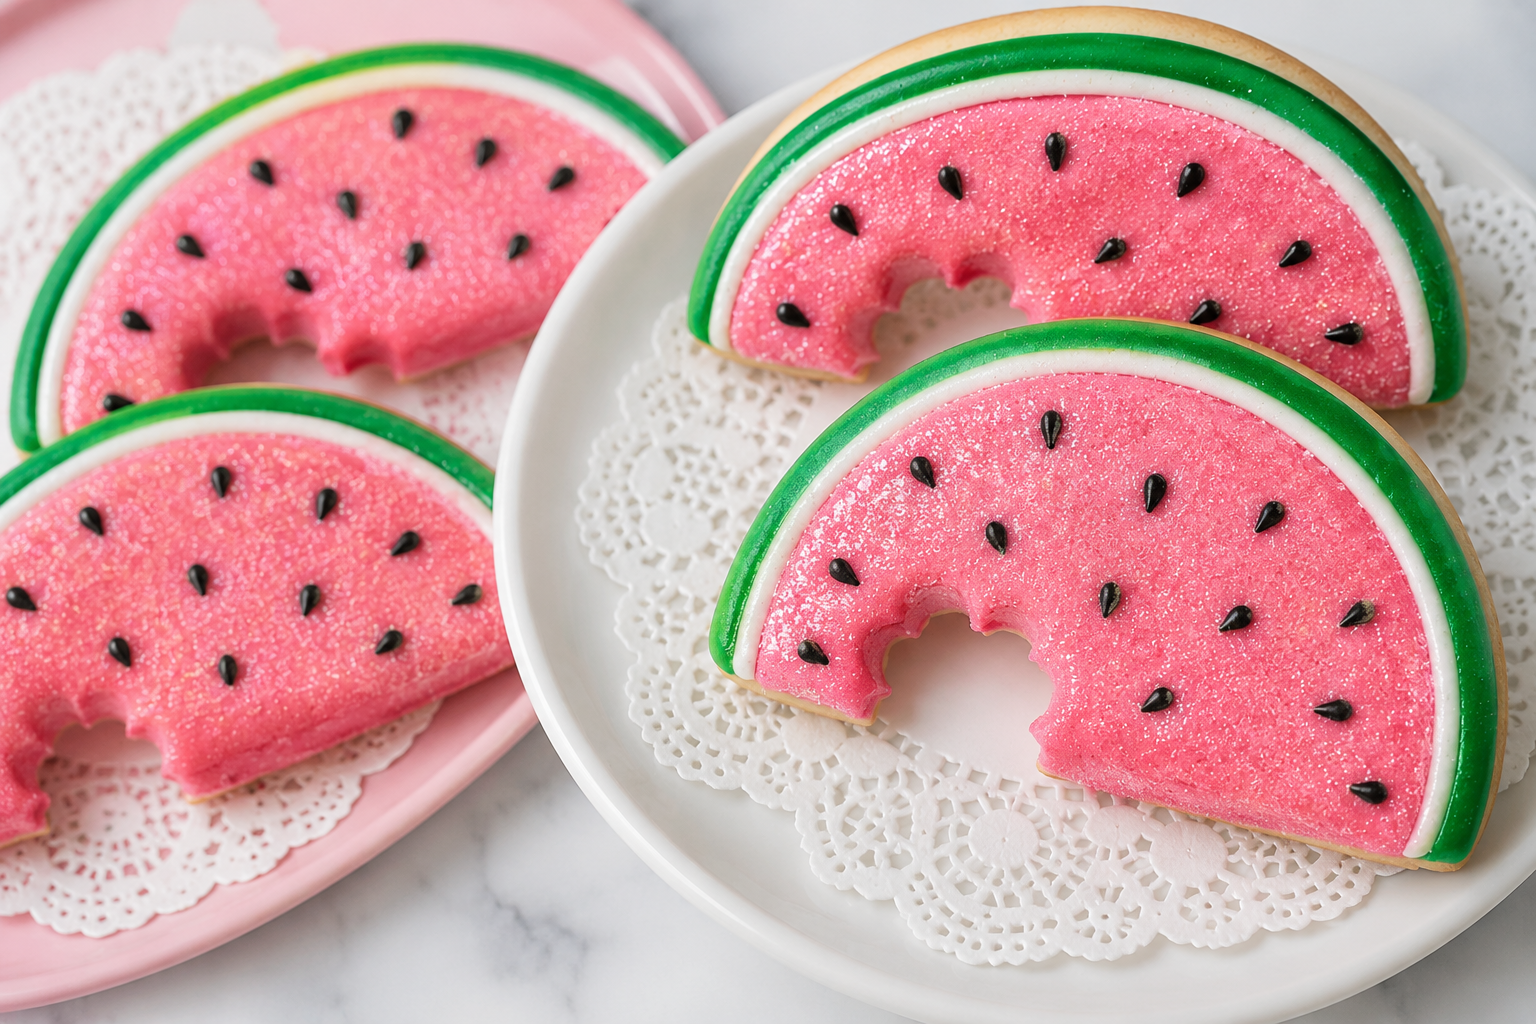
If you’re looking for a fun and beginner-friendly craft, these DIY fake watermelon cookies are the perfect project. Using air dry foam clay, glitter, and simple tools, you can create realistic-looking cookies that are completely non-edible.
This is an easy and budget-friendly craft that’s perfect for beginners, decor, or handmade gifts.
If you love faux dessert crafts, explore more beginner craft tutorials!
Why you’ll love this DIY:
- Beginner-friendly and easy to follow
- Perfect for summer decor or gifts
- Budget-friendly craft supplies
- Fun and colorful faux dessert design
- Great introduction to fake baking crafts
This post may contain affiliate links. If you purchase through these links, I may earn a small commission at no extra cost to you.
Supplies Used In This Craft:
- Air Dry Foam Clay
- Fine Glitter
- Flower Shaped Cookie Cutter
- Clear Glue
- Makeup palette
- More Products I Use
How to Make Fake Watermelon Cookies with Foam Clay
- Roll out your air dry foam clay to create the bottom layer of the cookie. Shape it into a circle using your hands or a round cookie cutter.
- Cut the circle in half so you have the base for two watermelon slice cookies.
- Repeat the process with your pink clay to create the watermelon layer, then clean up the edges for a smooth finish.
- Place the pink layer on top of the cookie base, gently molding them together. Leave a small border of the base showing around the curved edge so you have space to add the rind details.
- Roll out a small piece of white air dry foam clay into a thin, rope-like shape and place it along the curved edge of the pink layer.
- Repeat the same step with green air dry foam clay, placing it directly next to the white strip to complete the watermelon rind.
- Use a small cookie cutter (flower-shaped works great) to cut out a “bite” mark along the straight edge. Smooth the edges as needed with your fingers.
- Optional: Use a makeup palette to lightly add pink blush tones over the watermelon section for dimension, and a soft brown shade along the cookie base for a more realistic look.
- Roll tiny pieces of black air dry foam clay to create watermelon seeds, then gently press them into the pink layer.
- Apply a thin layer of clear glue over the entire surface of each cookie.
- Sprinkle fine glitter evenly across the top to create a sparkly sugar-cookie effect.
- Allow the cookies to dry completely for 24–48 hours.
- Once dry, seal with finishing spray if desired for added durability and shine.
If you love faux dessert crafts, you might also enjoy this DIY fake cake pops tutorial or explore more faux dessert crafts.
Product Highlights From This Video

Air Dry Foam Clay
Perfect for lightweight and realistic fake dessert crafts.

Cookie Cutter
Helps create perfectly shaped cookie bases quickly and easily.

Fine Glitter
Adds sparkle and realistic sugar-like texture.
Frequently Asked Questions
How do I get the cookie shape evenly round?
Using a round cookie cutter helps create a clean, even circle, but you can also shape it by hand and smooth the edges with your fingers.
How do I create the watermelon rind layers?
Roll thin strips of white and green air dry foam clay and place them along the curved edge of the cookie. Press gently so they stick and blend smoothly into the base.
Why should I leave a border around the pink layer?
Leaving a small edge of the base visible gives you space to add the white and green rind layers, which makes the cookies look more realistic.
How do I make the bite mark look clean?
Use a small cookie cutter (like a flower shape) and gently press it into the edge, then smooth any rough areas with your fingers.
How long do the cookies need to dry?
Allow the cookies to dry for 24–48 hours depending on thickness and humidity.
Do I need to seal the finished cookies?
Sealing is optional, but using a finishing spray helps protect the glitter and gives your cookies a polished finish.
📌 Save This Craft For Later
Pin this DIY project so you can make it later!👇

📌 Click here to save this craft on Pinterest