DIY Resin Jewelry with JDiction ResinCrete & LET’S RESIN UV Resin (Beginner Tutorial)
Watch the full tutorial above, then scroll down for the supplies and step-by-step instructions to create DIY resin jewelry using JDiction ResinCrete and LET’S RESIN UV resin. This beginner-friendly craft is perfect for making unique handmade jewelry pieces.
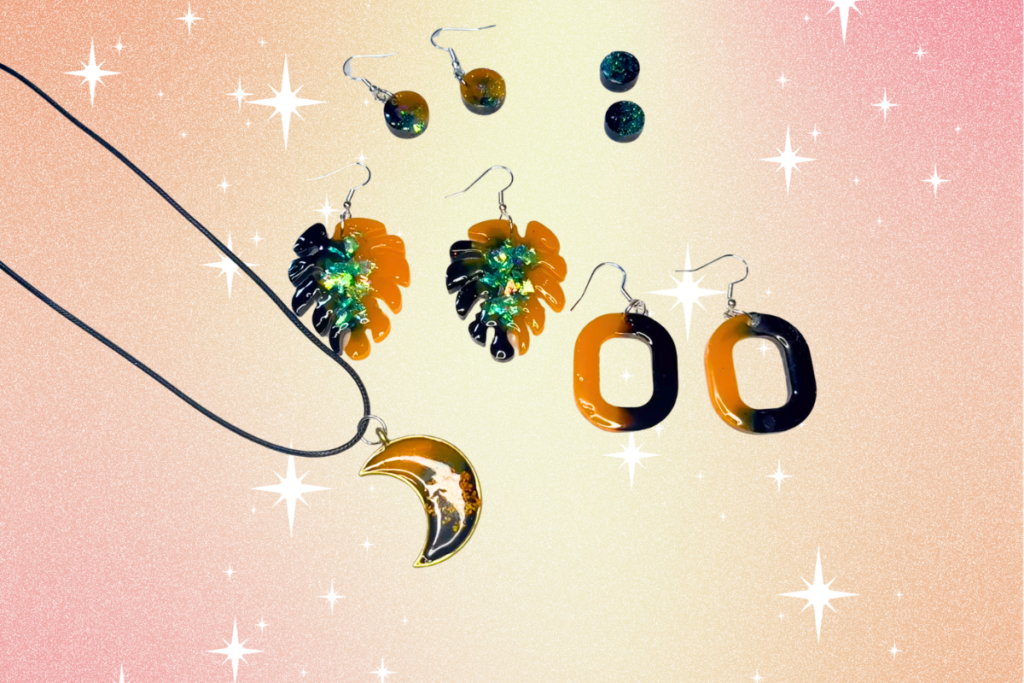
In this tutorial, you’ll learn how to create beautiful DIY resin jewelry using JDiction ResinCrete, molds, UV resin, pigments, and glitter. This method allows you to create lightweight, durable, and customizable jewelry pieces perfect for gifting or selling.
If you enjoy beginner-friendly crafts like this, you might also love this DIY UV Resin Starter Kit Tutorial (Beginner Resin Jewelry Craft Guide) for another creative project.
Why you’ll love this DIY:
- Combines ResinCrete and UV resin for unique mixed-material jewelry
- Perfect for beginners learning resin crafts
- Creates durable and lightweight jewelry pieces
- Easy to customize with pigments and glitter
- Great for gifts or selling handmade jewelry
This post may contain affiliate links. If you purchase through these links, I may earn a small commission at no extra cost to you.
Supplies Used In This Craft:
- JDiction ResinCrete
- LET’S RESIN UV Resin
- UV Lamp
- JDiction Pigments
- Fine Glitter
- Resin molds – you can find affordable options on Amazon, Temu, or Shein depending on your preferred styles.
How to Make DIY Resin Jewelry
- Prepare your workspace and gather all supplies before starting your DIY resin jewelry project.
- Mix the JDiction ResinCrete according to the package instructions until the mixture is smooth and lump-free.
- If you want to add color, mix in JDiction pigment at this stage and stir thoroughly to evenly distribute the color.
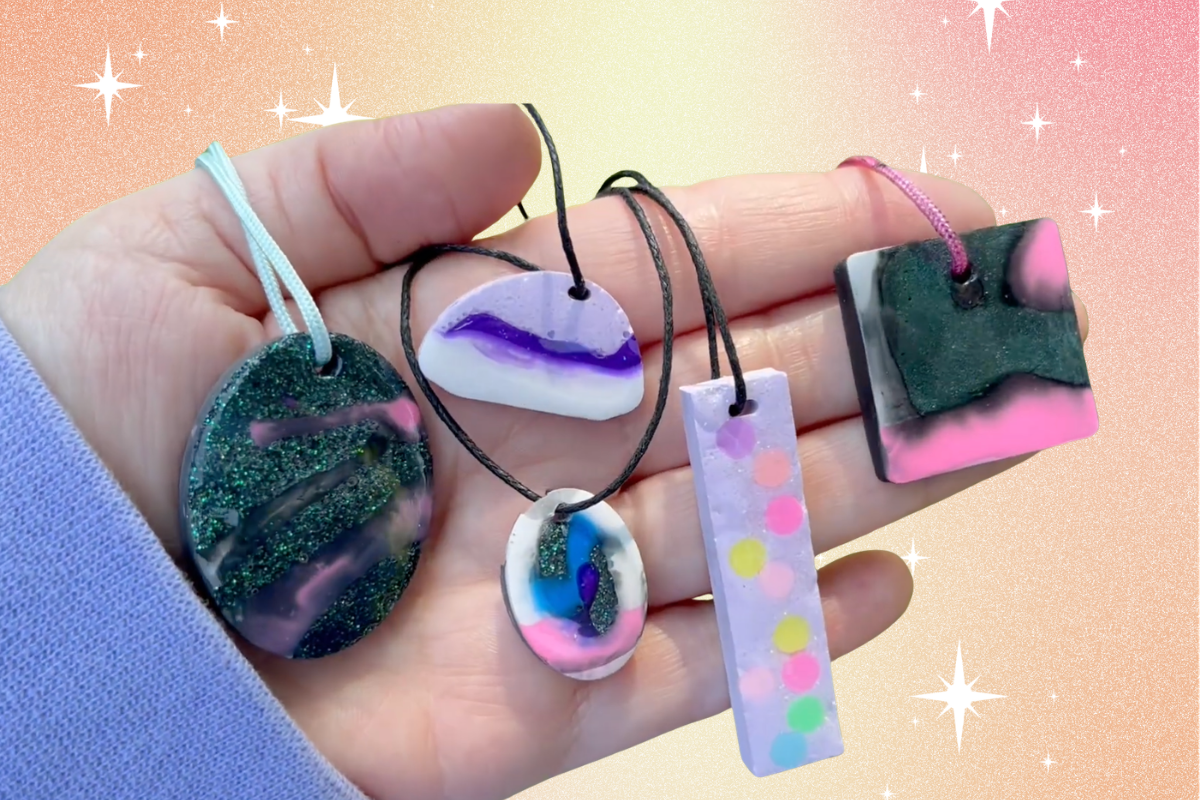
- Using a pop stick, place small amounts of the ResinCrete mixture into your molds, adding it randomly to begin building a layered, marbled effect.
- Mix additional colors and repeat the process, layering them throughout the mold to create a custom multicolor design. Do not fill the mold completely at this stage.
- For any areas that are still open, lightly add decorative elements like pigment powders, fine glitter, or loose leaf flakes to enhance texture and visual interest.
- Once your design is set, fill the remaining space in the mold with a backing layer of ResinCrete + pigment, making sure to fill it completely to the top.
- Allow the pieces to dry completely, then carefully remove them from the molds once fully hardened.
- Apply a thin layer of LET’S RESIN UV resin over the surface to create a smooth, glossy finish.
- Cure the resin using a UV lamp until the surface is fully hardened and set.
- Repeat additional resin layers if desired to build more shine, depth, and durability.
- Attach jewelry hardware to transform your finished pieces into wearable DIY resin jewelry.
You can also explore more beginner-friendly projects in my full craft tutorial collection.
Product Highlights From This Video

JDiction ResinCrete
Creates durable, moldable bases for resin jewelry.

LET’S RESIN UV Resin
Adds a glossy, glass-like finish to your pieces.

UV Lamp
Quickly cures UV resin for a smooth finish.
Frequently Asked Questions
What is ResinCrete used for in crafts?
ResinCrete is used to create solid, durable bases that can be decorated with resin, paint, or pigments. It’s perfect for jewelry and decorative craft pieces.
Do I need a UV lamp for resin jewelry?
Yes, a UV lamp is required to properly cure UV resin and achieve a hard, glossy finish.
Can I customize colors?
Absolutely! You can mix pigments, add glitter, or layer colors to create completely unique designs.
Is this DIY resin jewelry project beginner-friendly?
Yes! This project is great for beginners and a perfect introduction to working with UV resin and molds.
📌 Save This Craft For Later
Pin this DIY resin jewelry tutorial so you can try it later! 👇