DIY Mother’s Day Heart Ornament (Easy Air Dry Foam Clay Gift Idea)
Watch the full Mother’s Day heart ornament tutorial above, then follow the step-by-step instructions below to create your own adorable handmade faux clay keepsake gift.
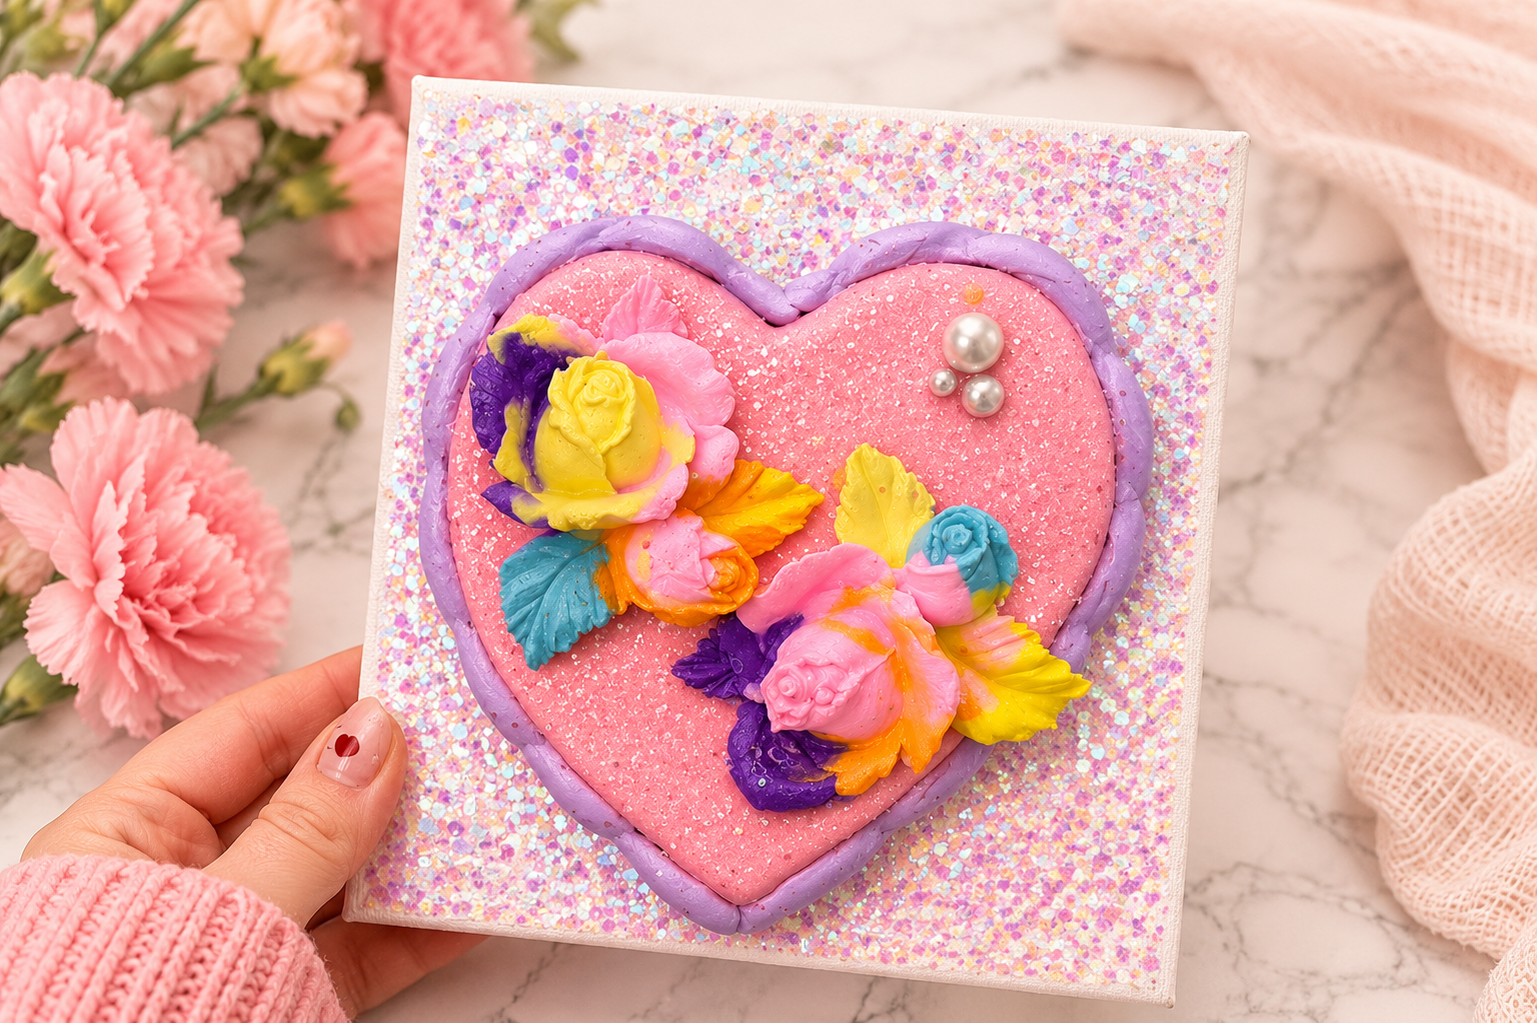
If you’re looking for a meaningful and beginner-friendly craft, this DIY Mother’s Day heart ornament is the perfect project. Using air dry foam clay, silicone molds, glitter, and decorative pearls, you can create a beautiful handmade ornament that looks elegant and custom-made.
This easy faux clay craft makes a thoughtful homemade gift for Mother’s Day, birthdays, room decor, or keepsakes.
If you love cute handmade crafts and faux dessert-style creations, explore more beginner craft tutorials!
Why you’ll love this DIY:
- Beginner-friendly and easy to customize
- Perfect handmade Mother’s Day gift
- Budget-friendly craft supplies
- Beautiful glitter and pearl details
- Great for ornaments, decor, or keepsakes
This post may contain affiliate links. If you purchase through these links, I may earn a small commission at no extra cost to you.
Supplies Used In This Craft:
- Air Dry Foam Clay
- Heart Cookie Cutter
- Rope Silicone Mold
- Flower Silicone Mold
- Crafting Pearls
- Spectra Glitter
- Toothpicks
- Fine Glitter
- Chunky Glitter
- Canvas Board
- Finishing Spray
- Clear Glue
- Super Glue
- More Products I Use
How to Make a DIY Mother’s Day Heart Ornament
- Roll out your air dry foam clay until it’s smooth, making it about ¼ inch thick.
- Use the heart cookie cutter to cut out your ornament shape, then set it aside.
- Press clay into the flower silicone mold to create floral embellishments. For a more dimensional look, use multiple clay colors in the mold. Carefully remove and set aside.
- Apply a thin layer of clear glue onto the top of your heart.
- Sprinkle spectra glitter and fine glitter over the glued surface to create a sparkly finish.
- Attach the molded flowers onto the heart using clear glue and position them with toothpicks for precision.
- Press additional clay into the rope silicone mold to create decorative trim pieces.
- Apply clear glue around the edges of the heart, then attach the trim, trimming excess as needed for a perfect fit.
- Add crafting pearls on top of the ornament for extra detail. Apply a small dot of glue first, then place each pearl on top.
- Apply a layer of clear glue to your canvas board. For extra hold, add a small amount of super glue to the center.
- Place your finished heart in the center of the canvas board and press gently to secure.
- Apply chunky glitter around the heart on the canvas for added sparkle.
- Allow the ornament to dry completely for 24–48 hours.
- Seal everything with finishing spray to protect the design and enhance the shine.
Product Highlights From This Video

Spectra Glitter
Adds a bright, sparkly finish for a magical handmade look.

Flower Silicone Mold
Creates beautiful floral embellishments with ease.

Crafting Pearls
Adds elegant decorative detail to your ornament.
Frequently Asked Questions
What type of clay works best for this ornament?
Using air dry foam clay makes this project lightweight, beginner-friendly, and easy to decorate.
How do I create the decorative border details?
The rope silicone mold helps create detailed trim pieces that can be attached around the heart ornament.
When should I add glitter and pearls?
Add glitter and crafting pearls before the glue dries so they stay securely attached.
How long does the ornament need to dry?
Allow the ornament to dry for 24–48 hours depending on thickness and humidity.
Should I seal the finished ornament?
Using a finishing spray helps protect the glitter and gives the ornament a polished finish.
📌 Save This Craft For Later
Pin this DIY project so you can make it later!👇

📌 Click here to save this craft on Pinterest